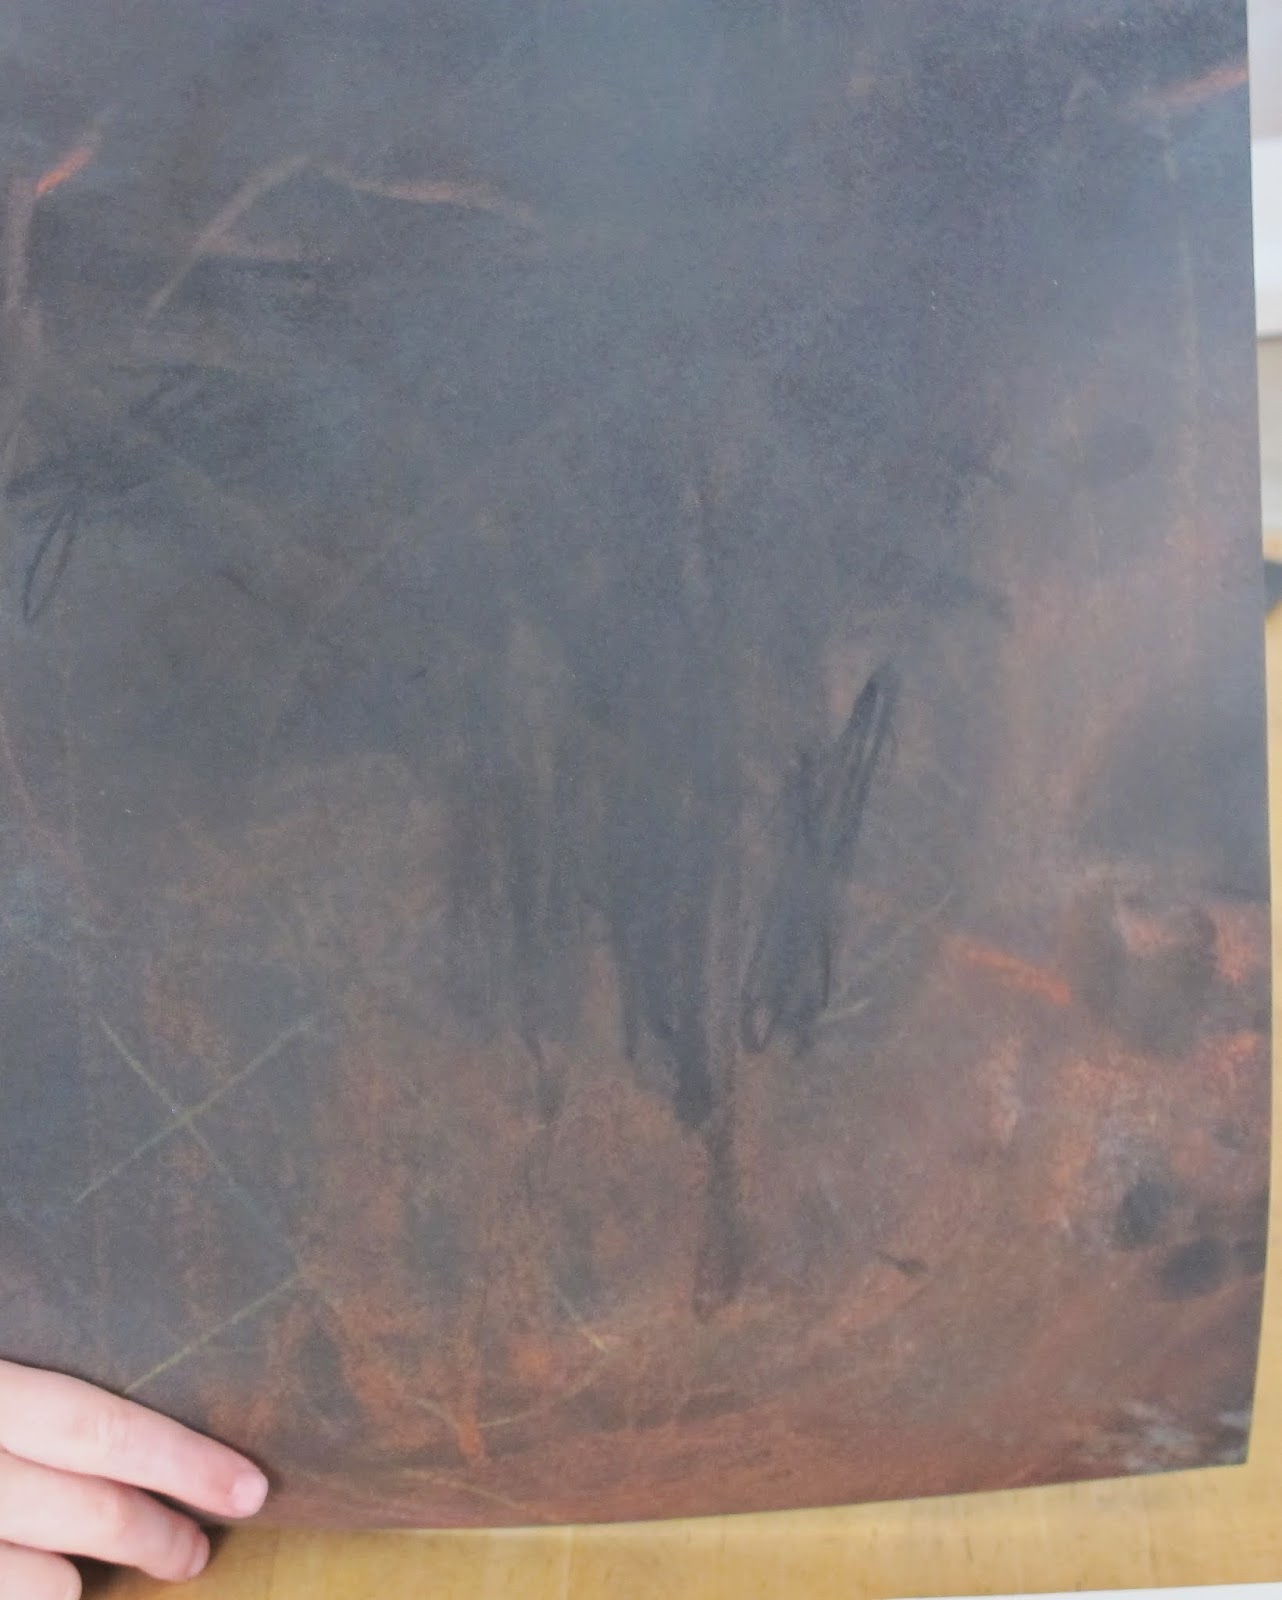
Winter Northern Lights Pastels


Our third project for Over, Under, and Through the Woods for winter was Northern Lights pastels.  I checked out a bunch of books from the library with pictures of the Northern Lights or aurora borealis so the kids would have something to help them come up with ideas.
We used black paper (Strathmore Artagain Drawing Paper Coal Black- 24 sheet pad purchased at Michael's) and pastels. 
The pastels are "cheap" kid ones I've had for years so I don't know what brand anymore.  "Expensive" does make a difference, better colors, sticking to the paper power, and blending abilities, but does tend to have "toxins" in it so I don't give those to kids.  Read the labels and if they do say they have elements in them that are not safe or if you are unsure, use a dust mask. 
We used our pastels by drawing with the sides, or a corner, or the small end to see the different effects.  We used tissues or paint brushes to blend.  We also scraped the pastels with a pan scraper to get little flecks.
I used Grumbacher Matte Final Fixative spray as a fixative.  I went outside for that and do recommend not spraying it inside the house.  We folded a half sheet of newsprint in half to use as a "folder" for each one to send home since even with fixative pastels are messy.




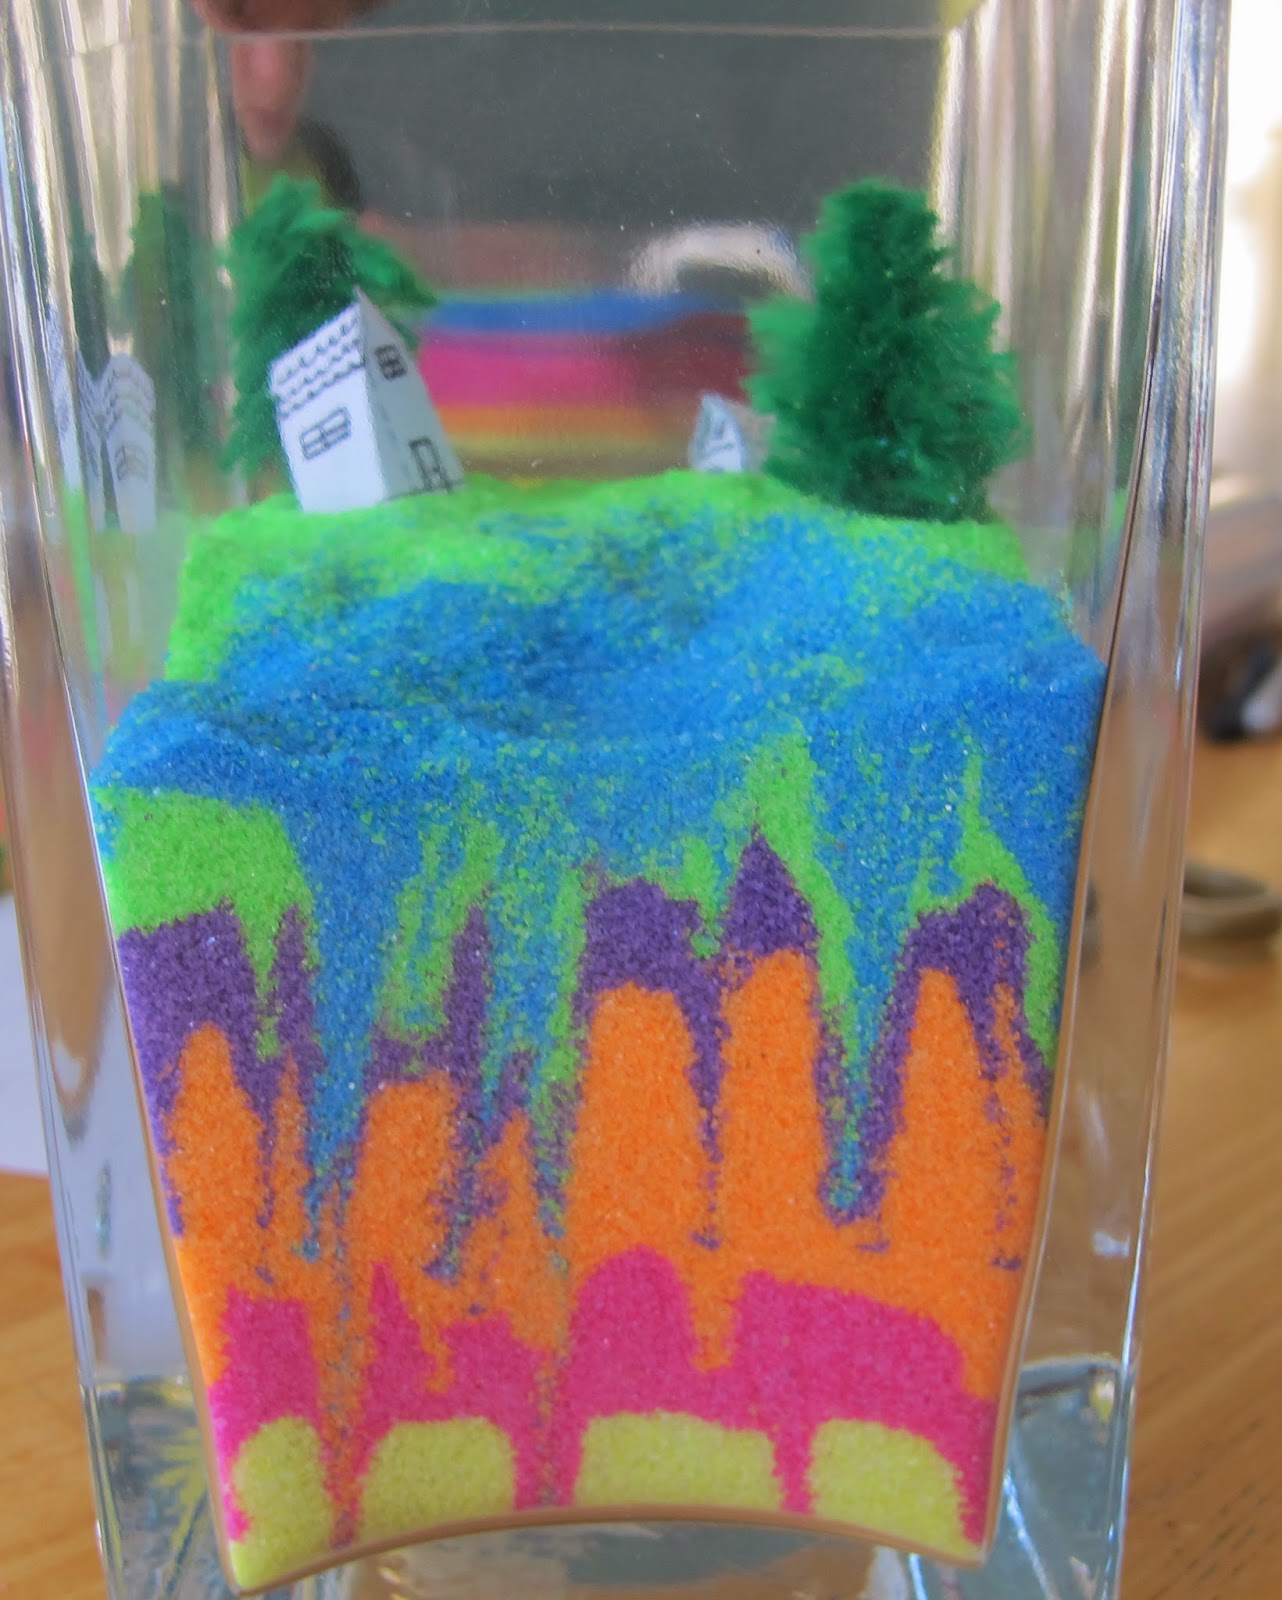
Winter Sand Art Earth Layers


Our second project for winter Over, Under, and Through the Woods was earth layers in a jar.
We used bright colored sand instead of more "realistic" earth layer colors because bright colors are so much fun.  I ordered sand from Amazon, but I think it actually came from Oriental Trading, so I'm not sure which is actually cheaper, ordering through Amazon or directly from Oriental Trading.  I ended up buying three cases for 22 people and used all of some colors, but have some left over of others.
I bought rectangle vases from Ikea to put our sand in.  I know they are open and don't have a lid which could result in some messes, but for this project I wanted to do something a little different then your typical tiny bottle of sand sand art.  I also wanted the kids to be able to put houses and trees on top and a small opening wouldn't allow that.
I used this reference for the layers of the earth:  http://scienceblogs.com/startswithabang/files/2011/09/Layers-of-Earth.jpeg
and drew this one without color and with measurements of sand for easy photo copying:
Just in case it's a little hard to read we used 6 tablespoons (T) of sand for the inner core, 6Tfor the outer core, 14T for the lower mantle, 4T for the upper mantle, 3T for the lithosphere, 3T for the crust or mountains and land, and 1-2T for the water.
I ended up making my own house template for the students to draw details on:
It's pretty simple.  Cut on the solid lines and fold on the dashed lines. The thin rectangle on the left and the top right are tabs.  Put glue on the tabs after folding it and stick it to the other side.
For trees we used a large fluffy green pipe cleaner.  I wanted to make my own bottle brush trees like these:  http://justsomethingimade.com/2013/11/handmade-colorful-bottle-brush-trees-at-goat-hill-fair/  but decided I didn't have time and it would be too much work for some of the kids.
We used a chopstick to poke layers down.  I tried to put a straw up against the glass and poured sand around it and then red sand in the straw to make lava coming up, but it didn't work very well.  I couldn't get the straw to stay close enough to the edge of the glass while adding sand.
They turned out so much fun :-)  I loved watching some kids make bridges and boats or other buildings for a little town or village on the top of their jar.


Spring Watercolors

Here's our spring watercolor paintings.  Again we used the same methods as Fall Watercolors, but using the colors we see in spring.  Here in Minnesota it takes awhile for spring to arrive and for the snow to leave.  Even though it was April, when I asked the kids what colors they see outside the answer was "brown.  gray."  I pointed out there was beginning to be a little bit of green on the buds of the trees and some of the brown/gold grass was turning green. :-) 
 (sorry that one is sideways)


 Here's some fall, winter, and spring together:


Winter Water Colors Through the Woods

In January we worked on our winter woods scenes.  We used pretty much the same techniques as the Fall water colors.  This time we used colors you might notice more in the winter like blues and purples and left a lot of white.


New aprons!


Well, not new, "re-purposed".  I have a bunch of my husband's dress shirts that get worn out in the elbows that I use for paint shirts or smocks.  The sleeves always seem to get in the way so I thought about just cutting them off.  I decided to look on pinterest for a pattern to make them into aprons.  I found a few pictures, but not a lot of good patterns or directions.  Could have just been the day I looked.  I decided to make my best guess.
I folded the shirt in half sleeve to sleeve, buttons and pocket on the outside.
Then using a ruler I drew a line with a marker from the collar to the side seam going between the sleeve and the pocket.  I cut along this line.
I then cut along the back of the collar close to the seam.
Then I cut along the side seams of the shirt- leaving the seam on the front of the shirt. 
The back is now removed from the shirt.  I cut two strips of fabric from the center of the shirt back.
I folded these in half and sewed it folded to give it some weight to use as ties.
I folded about a 1/4" edge where I cut on the front of the shirt and sewed it to give it a finished look.
I then sewed one strip on each side of the apron so it can be tied in back.
Voila et Finis!
I made 12 aprons all set ready to test out next art project. :-)
Here's someone trying very hard to do a silly fashion pose to model this for you:
 

2014 changes

I made a some minor changes to the winter and spring class dates for the Saturday classes.  I also added a spring class.  Well, more like split one into two.  Hopefully it doesn't cause anyone any trouble, but check and let me know.  Thanks!

Art: Stolen, Escaped, Recovered- extras

Here's a photo of my garage set up for the show.  I hang sheets, a huge bolt of bleached muslin I bought at JoAnn's with a 50% off coupon years ago clipped to a clothesline on the sides to hide all of our tools, toys, and stuff.  The boards are about an 1/8" thick wood I bought at a hardware store and then nail to the rafters of the garage.  It works well because I can hang art on both sides of the boards.  I also hang art on the back wall of my garage and that section is lit with Christmas lights.  This time I also needed a section that is black so I could have a dark corner to use the black light flashlight.  For that I hung black landscape plastic.  I tried to hang it across part of the front too, but the wind was blowing too hard so my son ended up holding it up on that side when people wanted to use the black light.

I also had my sons set up a red laser obstacle course out of red yarn.  I think the kids had fun with that.


Also, here's a video my sister and her kids made inspired by our theme:

Escape Artist

Love it, and thanks, Melissa!