Here's our spring watercolor paintings. Again we used the same methods as Fall Watercolors, but using the colors we see in spring. Here in Minnesota it takes awhile for spring to arrive and for the snow to leave. Even though it was April, when I asked the kids what colors they see outside the answer was "brown. gray." I pointed out there was beginning to be a little bit of green on the buds of the trees and some of the brown/gold grass was turning green. :-)
(sorry that one is sideways)
Here's some fall, winter, and spring together:
We don't all have to sing in the choir, but we can have fun singing along to the radio. I believe we all have an artist inside us. This blog is to help you find yours or at least help you keep your children from losing theirs. Having the right tools and knowing a few tricks helps, but most important is to lose the fear. Art is a way to have fun- it's okay to sing out of tune.
Winter Water Colors Through the Woods
In January we worked on our winter woods scenes. We used pretty much the same techniques as the Fall water colors. This time we used colors you might notice more in the winter like blues and purples and left a lot of white.
New aprons!
Well, not new, "re-purposed". I have a bunch of my husband's dress shirts that get worn out in the elbows that I use for paint shirts or smocks. The sleeves always seem to get in the way so I thought about just cutting them off. I decided to look on pinterest for a pattern to make them into aprons. I found a few pictures, but not a lot of good patterns or directions. Could have just been the day I looked. I decided to make my best guess.
I folded the shirt in half sleeve to sleeve, buttons and pocket on the outside.
Then using a ruler I drew a line with a marker from the collar to the side seam going between the sleeve and the pocket. I cut along this line.
I then cut along the back of the collar close to the seam.
Then I cut along the side seams of the shirt- leaving the seam on the front of the shirt.
The back is now removed from the shirt. I cut two strips of fabric from the center of the shirt back.
I folded these in half and sewed it folded to give it some weight to use as ties.
I folded about a 1/4" edge where I cut on the front of the shirt and sewed it to give it a finished look.
I then sewed one strip on each side of the apron so it can be tied in back.
Voila et Finis!
I made 12 aprons all set ready to test out next art project. :-)
Here's someone trying very hard to do a silly fashion pose to model this for you:
2014 changes
I made a some minor changes to the winter and spring class dates for the Saturday classes. I also added a spring class. Well, more like split one into two. Hopefully it doesn't cause anyone any trouble, but check and let me know. Thanks!
Art: Stolen, Escaped, Recovered- extras
Here's a photo of my garage set up for the show. I hang sheets, a huge bolt of bleached muslin I bought at JoAnn's with a 50% off coupon years ago clipped to a clothesline on the sides to hide all of our tools, toys, and stuff. The boards are about an 1/8" thick wood I bought at a hardware store and then nail to the rafters of the garage. It works well because I can hang art on both sides of the boards. I also hang art on the back wall of my garage and that section is lit with Christmas lights. This time I also needed a section that is black so I could have a dark corner to use the black light flashlight. For that I hung black landscape plastic. I tried to hang it across part of the front too, but the wind was blowing too hard so my son ended up holding it up on that side when people wanted to use the black light.
I also had my sons set up a red laser obstacle course out of red yarn. I think the kids had fun with that.
Also, here's a video my sister and her kids made inspired by our theme:
Escape Artist
Love it, and thanks, Melissa!
I also had my sons set up a red laser obstacle course out of red yarn. I think the kids had fun with that.
Also, here's a video my sister and her kids made inspired by our theme:
Escape Artist
Love it, and thanks, Melissa!
Art: Stolen, Escaped, Recovered- Printmaking
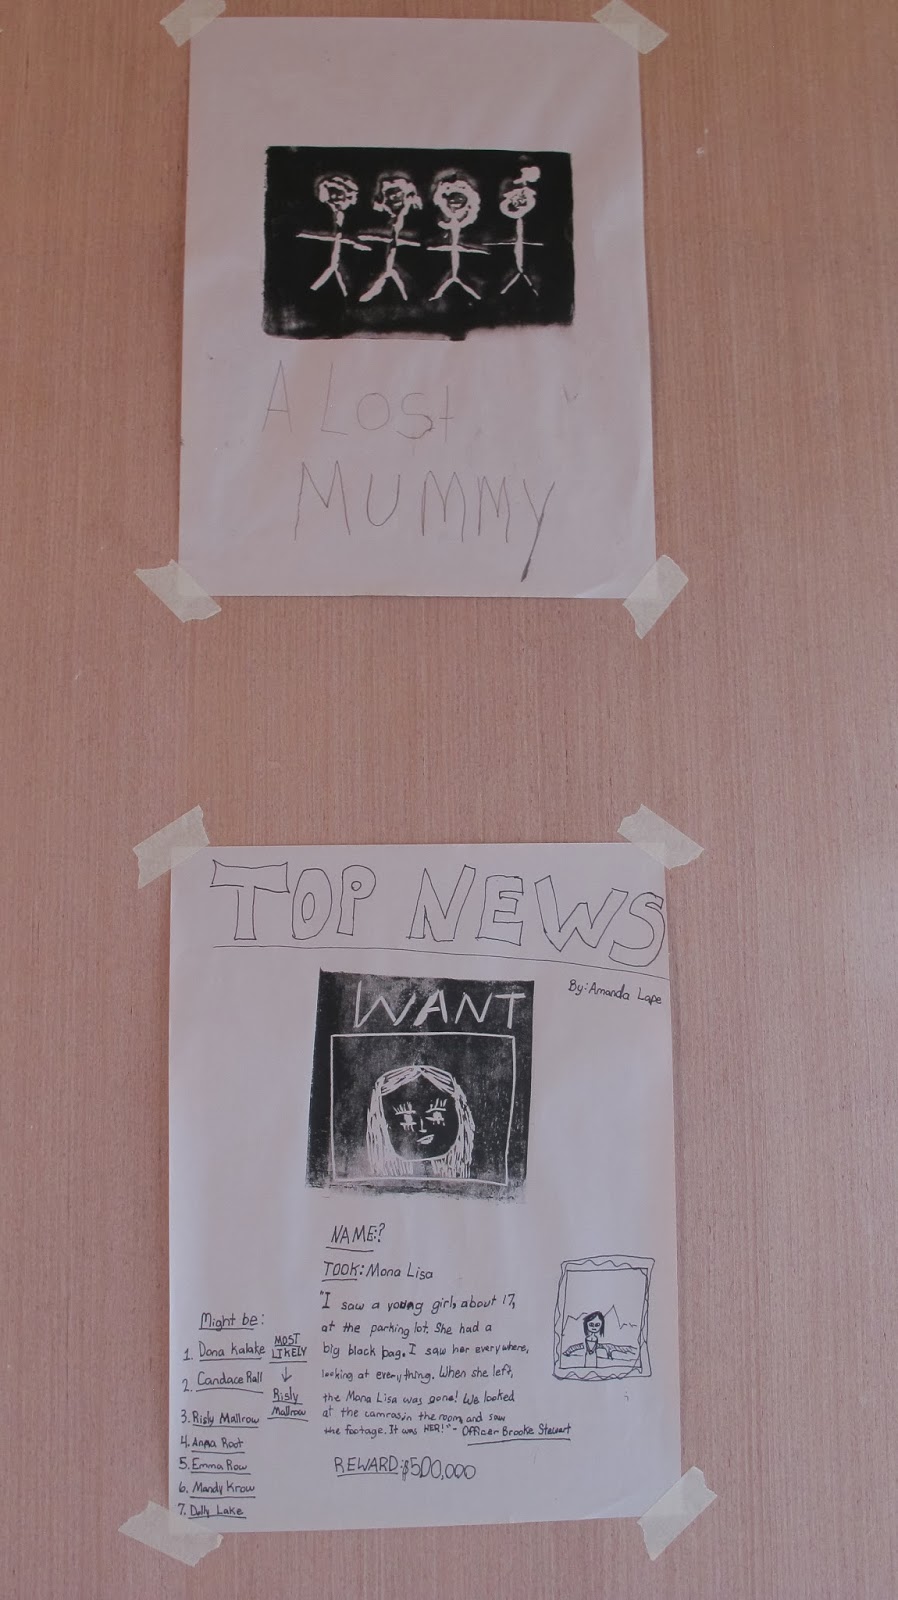
This lesson focused on the escaped and recovered aspects of our theme. We made "want ads" or "lost" posters for a missing art piece. We carved a block, printed it on newsprint, and then wrote the rest of our ad underneath on our best print. (The preschool class stuck with just an initial and had parent help- child wrote the letter, parent carved, printed together).
Supplies:
ink
ink plate (I use a piece of plexi-glass)
wipes (for wiping ink off hands)
paper towels
bucket of water
roller
baren
newsprint
black pens or markers
carving block
carving tools
When carving the most important thing to keep in mind is that your image will appear the reverse. So if you write anything, write it backward so that it will print forward.
Draw on your block and then begin carving. I find it easiest to hold the tool in my hand like I would and ice cream scoop and then glide it across the block.
Once you have finished carving put about a tablespoon size blob on the ink plate. Roll the roller in the ink and on the plate until you have an even coating of ink on the roller. Roll the roller across your block until it is evenly covered in ink. Place your piece of paper on your block. Use the baren to rub over the paper making sure the ink is evenly pressed on the block. Gently lift away the paper and you have your print! I like to do another one or two prints with that block to clean it off then clean the block with a damp paper towel. Since I did this outside I had an ice cream bucket of water and had the kids get a paper towel, dip it in the bucket, squeeze it out, and then use it to wipe off their blocks. Make as many prints as you want or have time for. I use Blick water soluble ink so it rinses off and cleans up quite easily.
Kids are so creative. I love it :-)
Art: Stolen, Escaped, Recovered- Mummies
If anything is going to escape from a museum, I'm betting it's going to be the mummies.
Here's a fun mummy music video (sorry I couldn't get it to embed with a picture).
Here's another great link I found about mummies and ancient Egypt from The British Museum.
Bodies were mummified with natron. According to wikipedia natron is sodium carbonate decahydrate or a type of soda ash, 17% sodium bicarbonate (baking soda), and small amounts of sodium chloride and sodium sulfate. We aren't actually mummifying anything though. Just wrapping.
Supplies: wire, needle nose pliers, newsprint strips, masking tape, glue, water, fabric strips, gauze (optional).
I took pictures of each step, but I can't seem to find them. Here's a link to the tutorial I used to make the wire body frame for our mummies. After making the wire frame we wadded some newsprint into a ball and stuffed it in the loop that is the head and then taped around it so it would stay. We did the same thing for a back and chest. Then we took strips of newsprint and wrapped them around the body, taping where needed to hold the paper to the wire. Pose your wire and paper man the way you would like.
For the younger class my family and I made the wire and taped mummies so all that would be left is the fabric and glue. I also had my kids on hand to help anyone in the longer class (It is a little hard and most kids needed help). After you have your wire and paper man ready you will need to get a bowl of glue mixed with a little water and stirred together. Dip your fabric strips in the bowl- then hold the strip above the bowl with one hand and slide the other hand from the top to the bottom to get rid of extra glue. Wrap this strip around the wire and paper body. Continue this process until you are happy with your mummy wrapping. Once you have completely covered your mummy you can add a layer of gauze to make it more mummy like. Not all kids are up to this tactile experience. It is messy. Some kids didn't mind, some enjoyed it, some tried it and left to play and came back, some tried it and left to play and didn't try again, and others flat out refused to touch the glue. I did make everyone at least try it before running to my swing set. ;-)
Before class, with my kids, we tried using Paverpol. Paverpol sounded way awesome because it is waterproof so you could use it for outdoor sculptures and this seemed like a good excuse to experiment. It is great, but we went through a lot of it just to do our 6 and it's expensive. I was planning on the preschool group using Elmer's glue mixed with a little water since it is washable and noticed it did a great job so I used the Elmer's for all my classes. I tried using gauze strips I got from the pharmacy, but they are pretty thin and I found that covering the mummy first with muslin torn into strips and then adding gauze on top of that was a better look.
Subscribe to:
Posts (Atom)