Spring Underneath Drawings


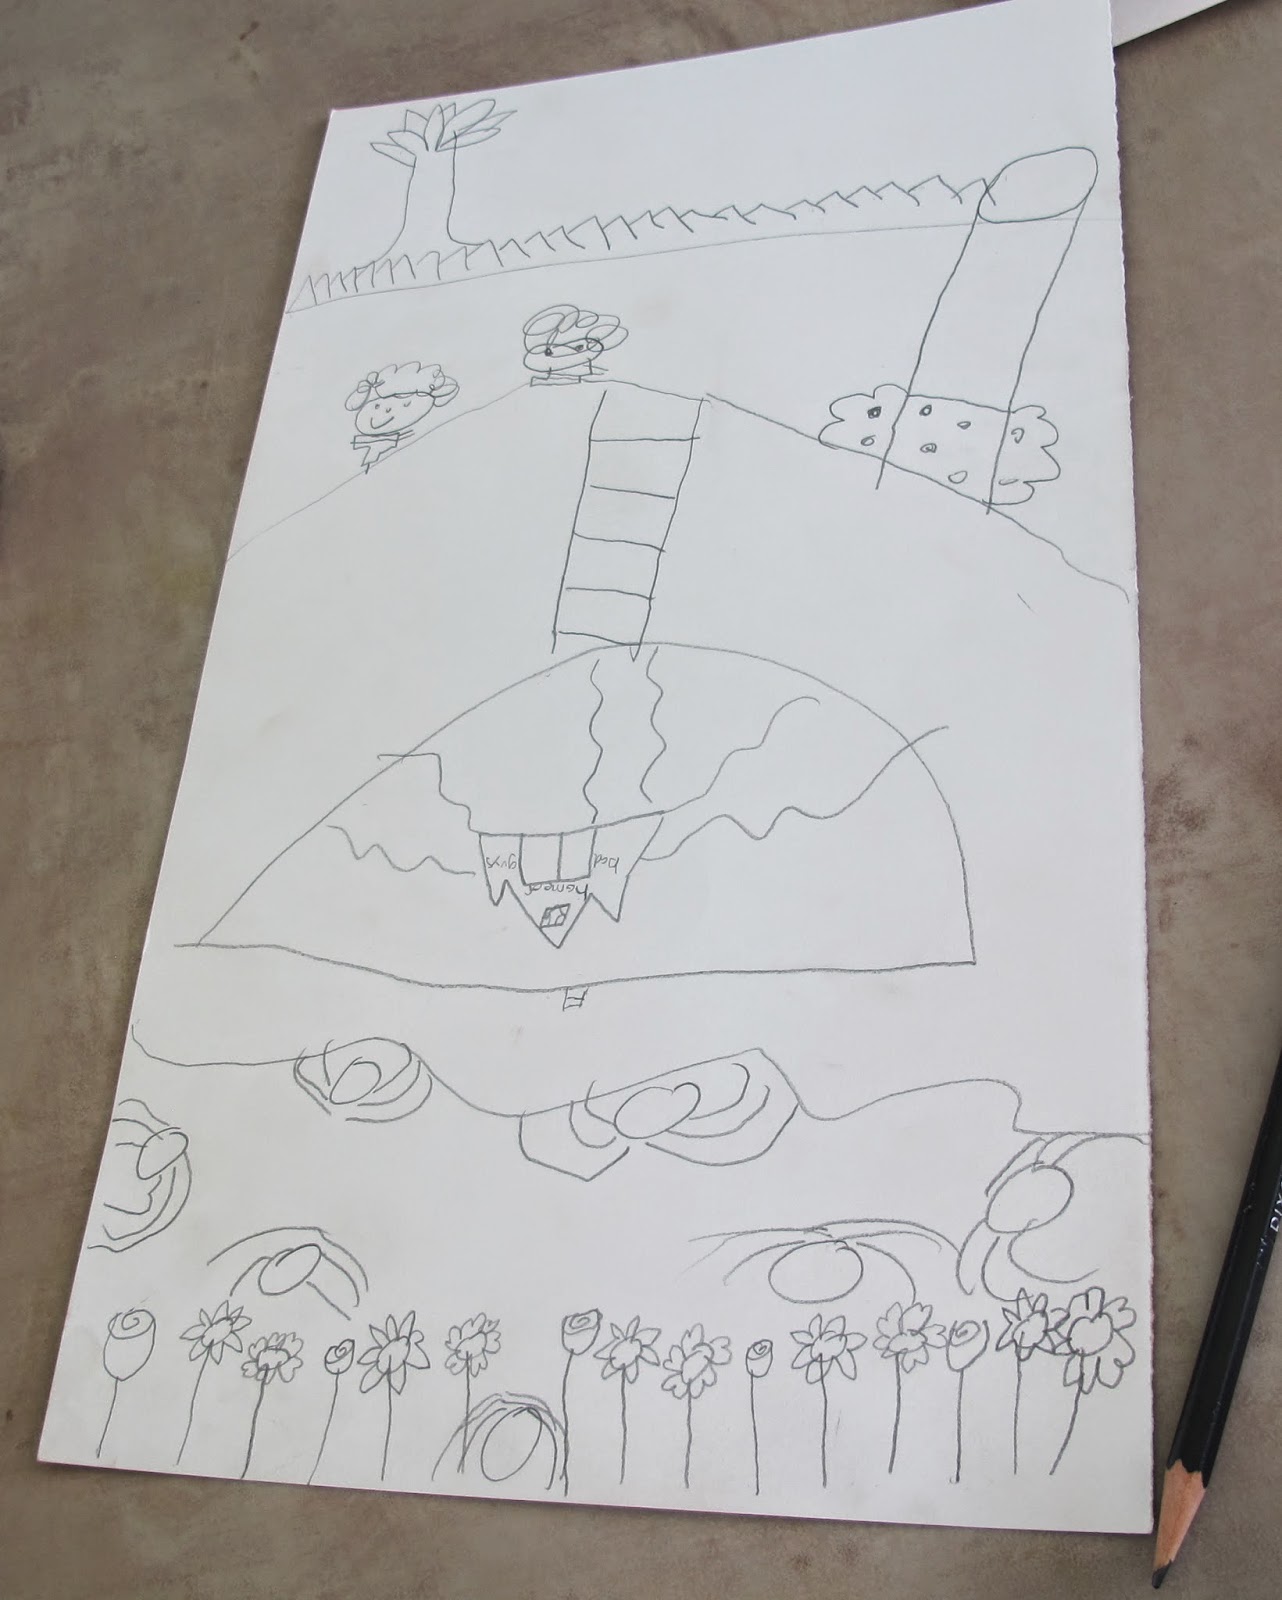
We know what's really underground, but what could be under that rock?  Could that rock actually be part of a giant turtle?  Something else?
This time we made detailed drawings using our imaginations of what might be under ground that we can't see.  For the preschool class I put some items under a towel and asked them to guess what was under it before we started drawing.
I also showed the kids these images so they would really believe me that anything could be under ground in their pictures and they didn't need it to be realistic.
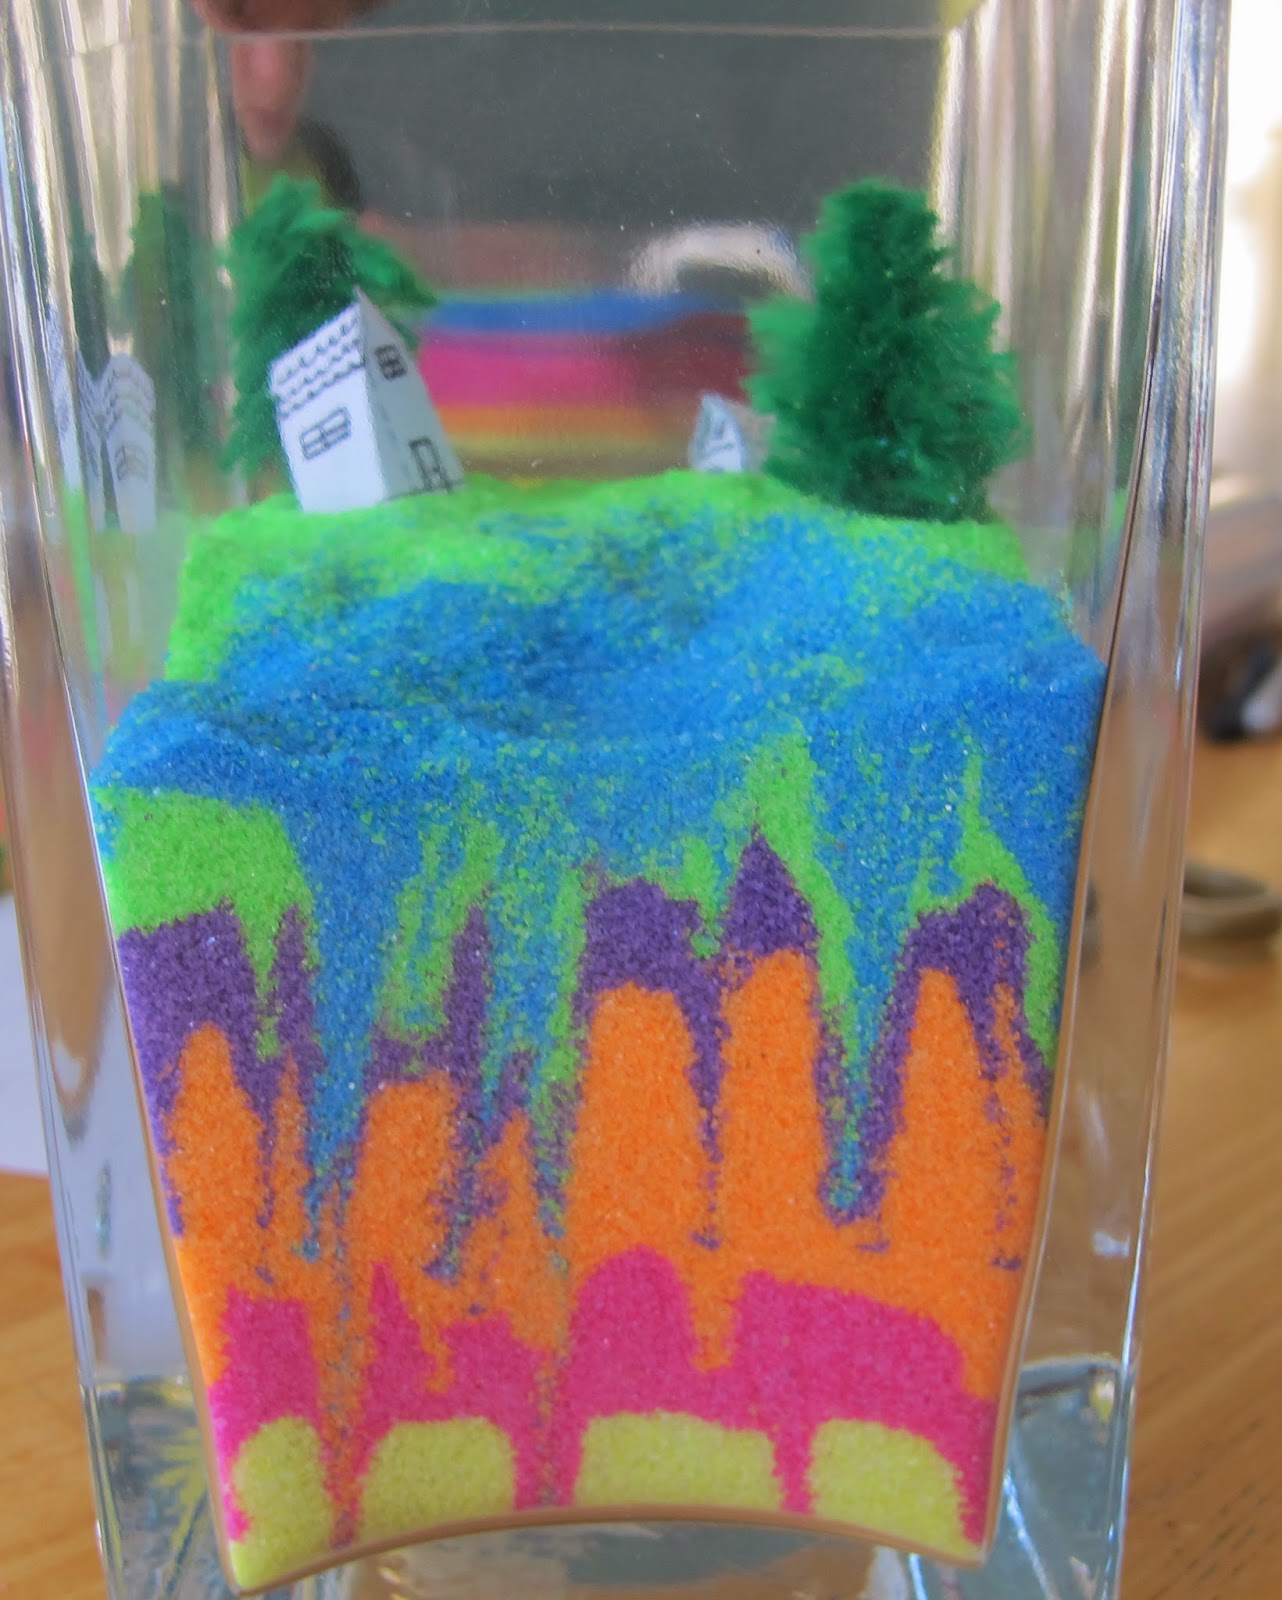
http://500px.com/photo/4621569/what-lies-beneath-by-gonzalo-villar and another picture I have pinned on Pinterest to my Art Warm-ups board.  If you follow me you can hunt for it there.  I can't seem to get to the actual picture to put a link here.  It's a painting of an island village (old fairy tale style) on top of a kraken so it looks like the island is the kraken's head.
Some used markers or black felt tip pens for this one and some used pencils, but no erasers.  I sometimes like to do drawing assignments where no erasers are allowed.  I think sometimes kids spend too much time erasing instead of creating and drawing so this was one of those assignments.  I also think it helps build confidence in your drawing abilities if you can practice drawing in ink and get comfortable with it.  There are always some kids that don't like it at first, but I stick to my rule and let them know it isn't always going to be like that and my reasons behind it.


Winter Northern Lights Pastels


Our third project for Over, Under, and Through the Woods for winter was Northern Lights pastels.  I checked out a bunch of books from the library with pictures of the Northern Lights or aurora borealis so the kids would have something to help them come up with ideas.
We used black paper (Strathmore Artagain Drawing Paper Coal Black- 24 sheet pad purchased at Michael's) and pastels. 
The pastels are "cheap" kid ones I've had for years so I don't know what brand anymore.  "Expensive" does make a difference, better colors, sticking to the paper power, and blending abilities, but does tend to have "toxins" in it so I don't give those to kids.  Read the labels and if they do say they have elements in them that are not safe or if you are unsure, use a dust mask. 
We used our pastels by drawing with the sides, or a corner, or the small end to see the different effects.  We used tissues or paint brushes to blend.  We also scraped the pastels with a pan scraper to get little flecks.
I used Grumbacher Matte Final Fixative spray as a fixative.  I went outside for that and do recommend not spraying it inside the house.  We folded a half sheet of newsprint in half to use as a "folder" for each one to send home since even with fixative pastels are messy.


Winter Sand Art Earth Layers


Our second project for winter Over, Under, and Through the Woods was earth layers in a jar.
We used bright colored sand instead of more "realistic" earth layer colors because bright colors are so much fun.  I ordered sand from Amazon, but I think it actually came from Oriental Trading, so I'm not sure which is actually cheaper, ordering through Amazon or directly from Oriental Trading.  I ended up buying three cases for 22 people and used all of some colors, but have some left over of others.
I bought rectangle vases from Ikea to put our sand in.  I know they are open and don't have a lid which could result in some messes, but for this project I wanted to do something a little different then your typical tiny bottle of sand sand art.  I also wanted the kids to be able to put houses and trees on top and a small opening wouldn't allow that.
I used this reference for the layers of the earth:  http://scienceblogs.com/startswithabang/files/2011/09/Layers-of-Earth.jpeg
and drew this one without color and with measurements of sand for easy photo copying:
Just in case it's a little hard to read we used 6 tablespoons (T) of sand for the inner core, 6Tfor the outer core, 14T for the lower mantle, 4T for the upper mantle, 3T for the lithosphere, 3T for the crust or mountains and land, and 1-2T for the water.
I ended up making my own house template for the students to draw details on:
It's pretty simple.  Cut on the solid lines and fold on the dashed lines. The thin rectangle on the left and the top right are tabs.  Put glue on the tabs after folding it and stick it to the other side.
For trees we used a large fluffy green pipe cleaner.  I wanted to make my own bottle brush trees like these:  http://justsomethingimade.com/2013/11/handmade-colorful-bottle-brush-trees-at-goat-hill-fair/  but decided I didn't have time and it would be too much work for some of the kids.
We used a chopstick to poke layers down.  I tried to put a straw up against the glass and poured sand around it and then red sand in the straw to make lava coming up, but it didn't work very well.  I couldn't get the straw to stay close enough to the edge of the glass while adding sand.
They turned out so much fun :-)  I loved watching some kids make bridges and boats or other buildings for a little town or village on the top of their jar.